 PVA
Example 2.4: Picking a Line
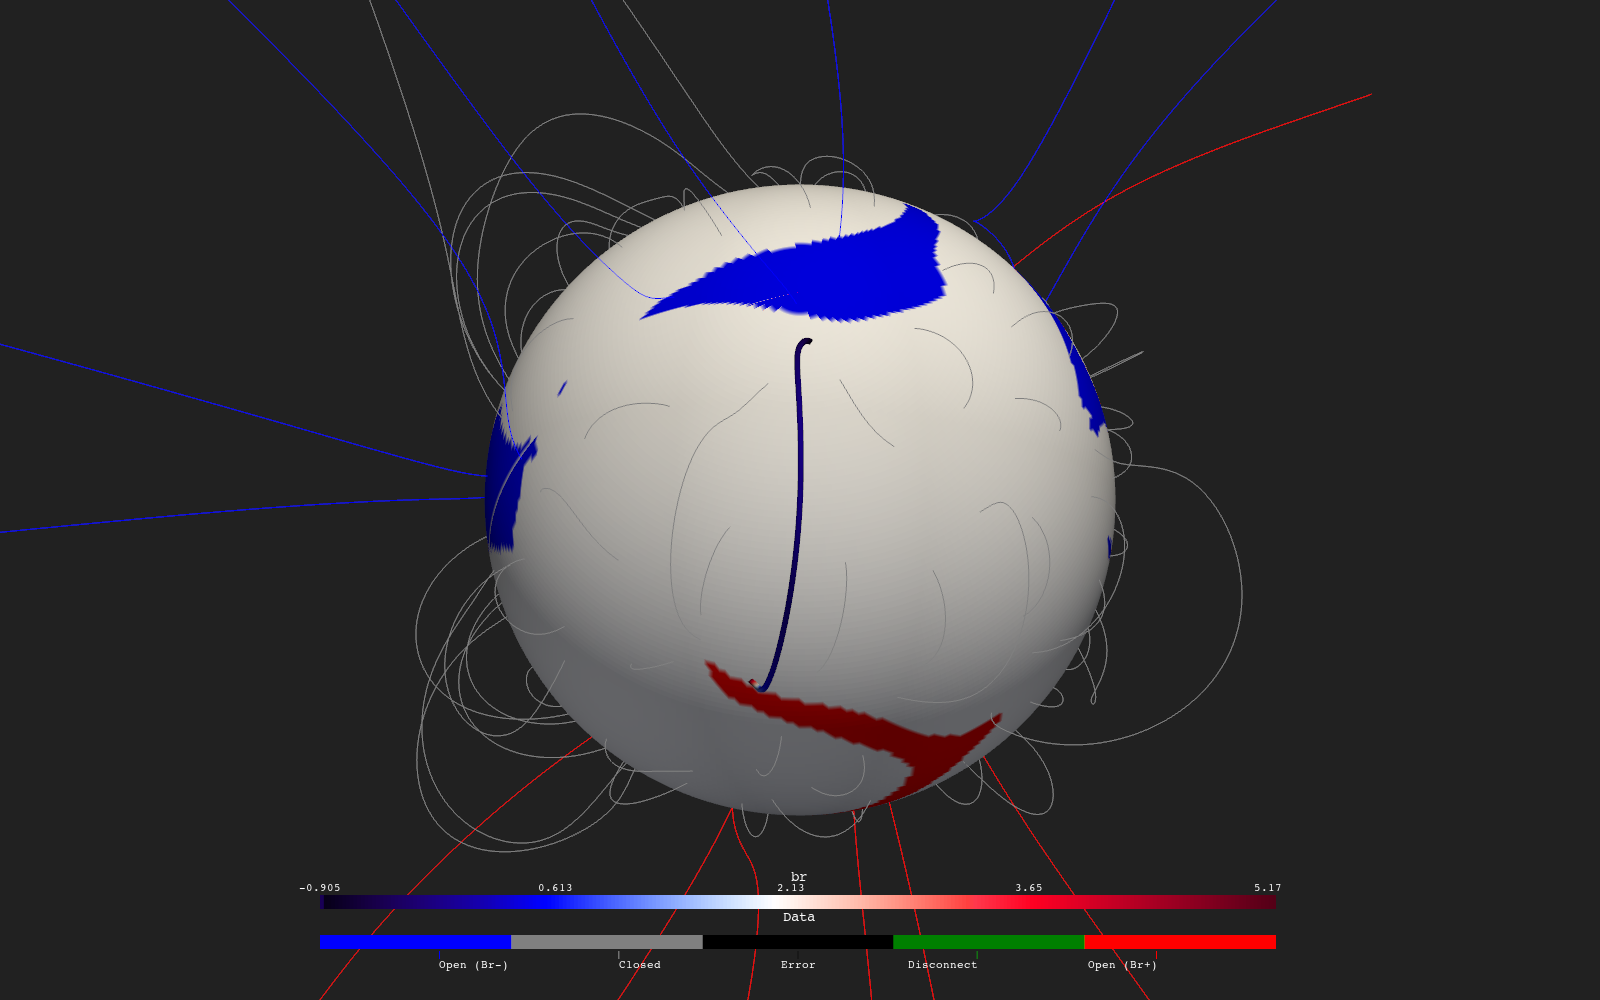
Pick one field line in the 3-D view, color just that line by the radial field sampled along it, and aim the camera at it.
The solved session keeps its picked data in picking-a-line-solved.data. Save these files in a folder named picking-a-line-solved.data beside the solved .pyv file.
Shortcuts are written Ctrl+…; macOS shows ⌘.
Goal
Pick one field line in the 3-D view, color just that line by the radial field sampled along it, and aim the camera at it.
Picking a line instead of a point
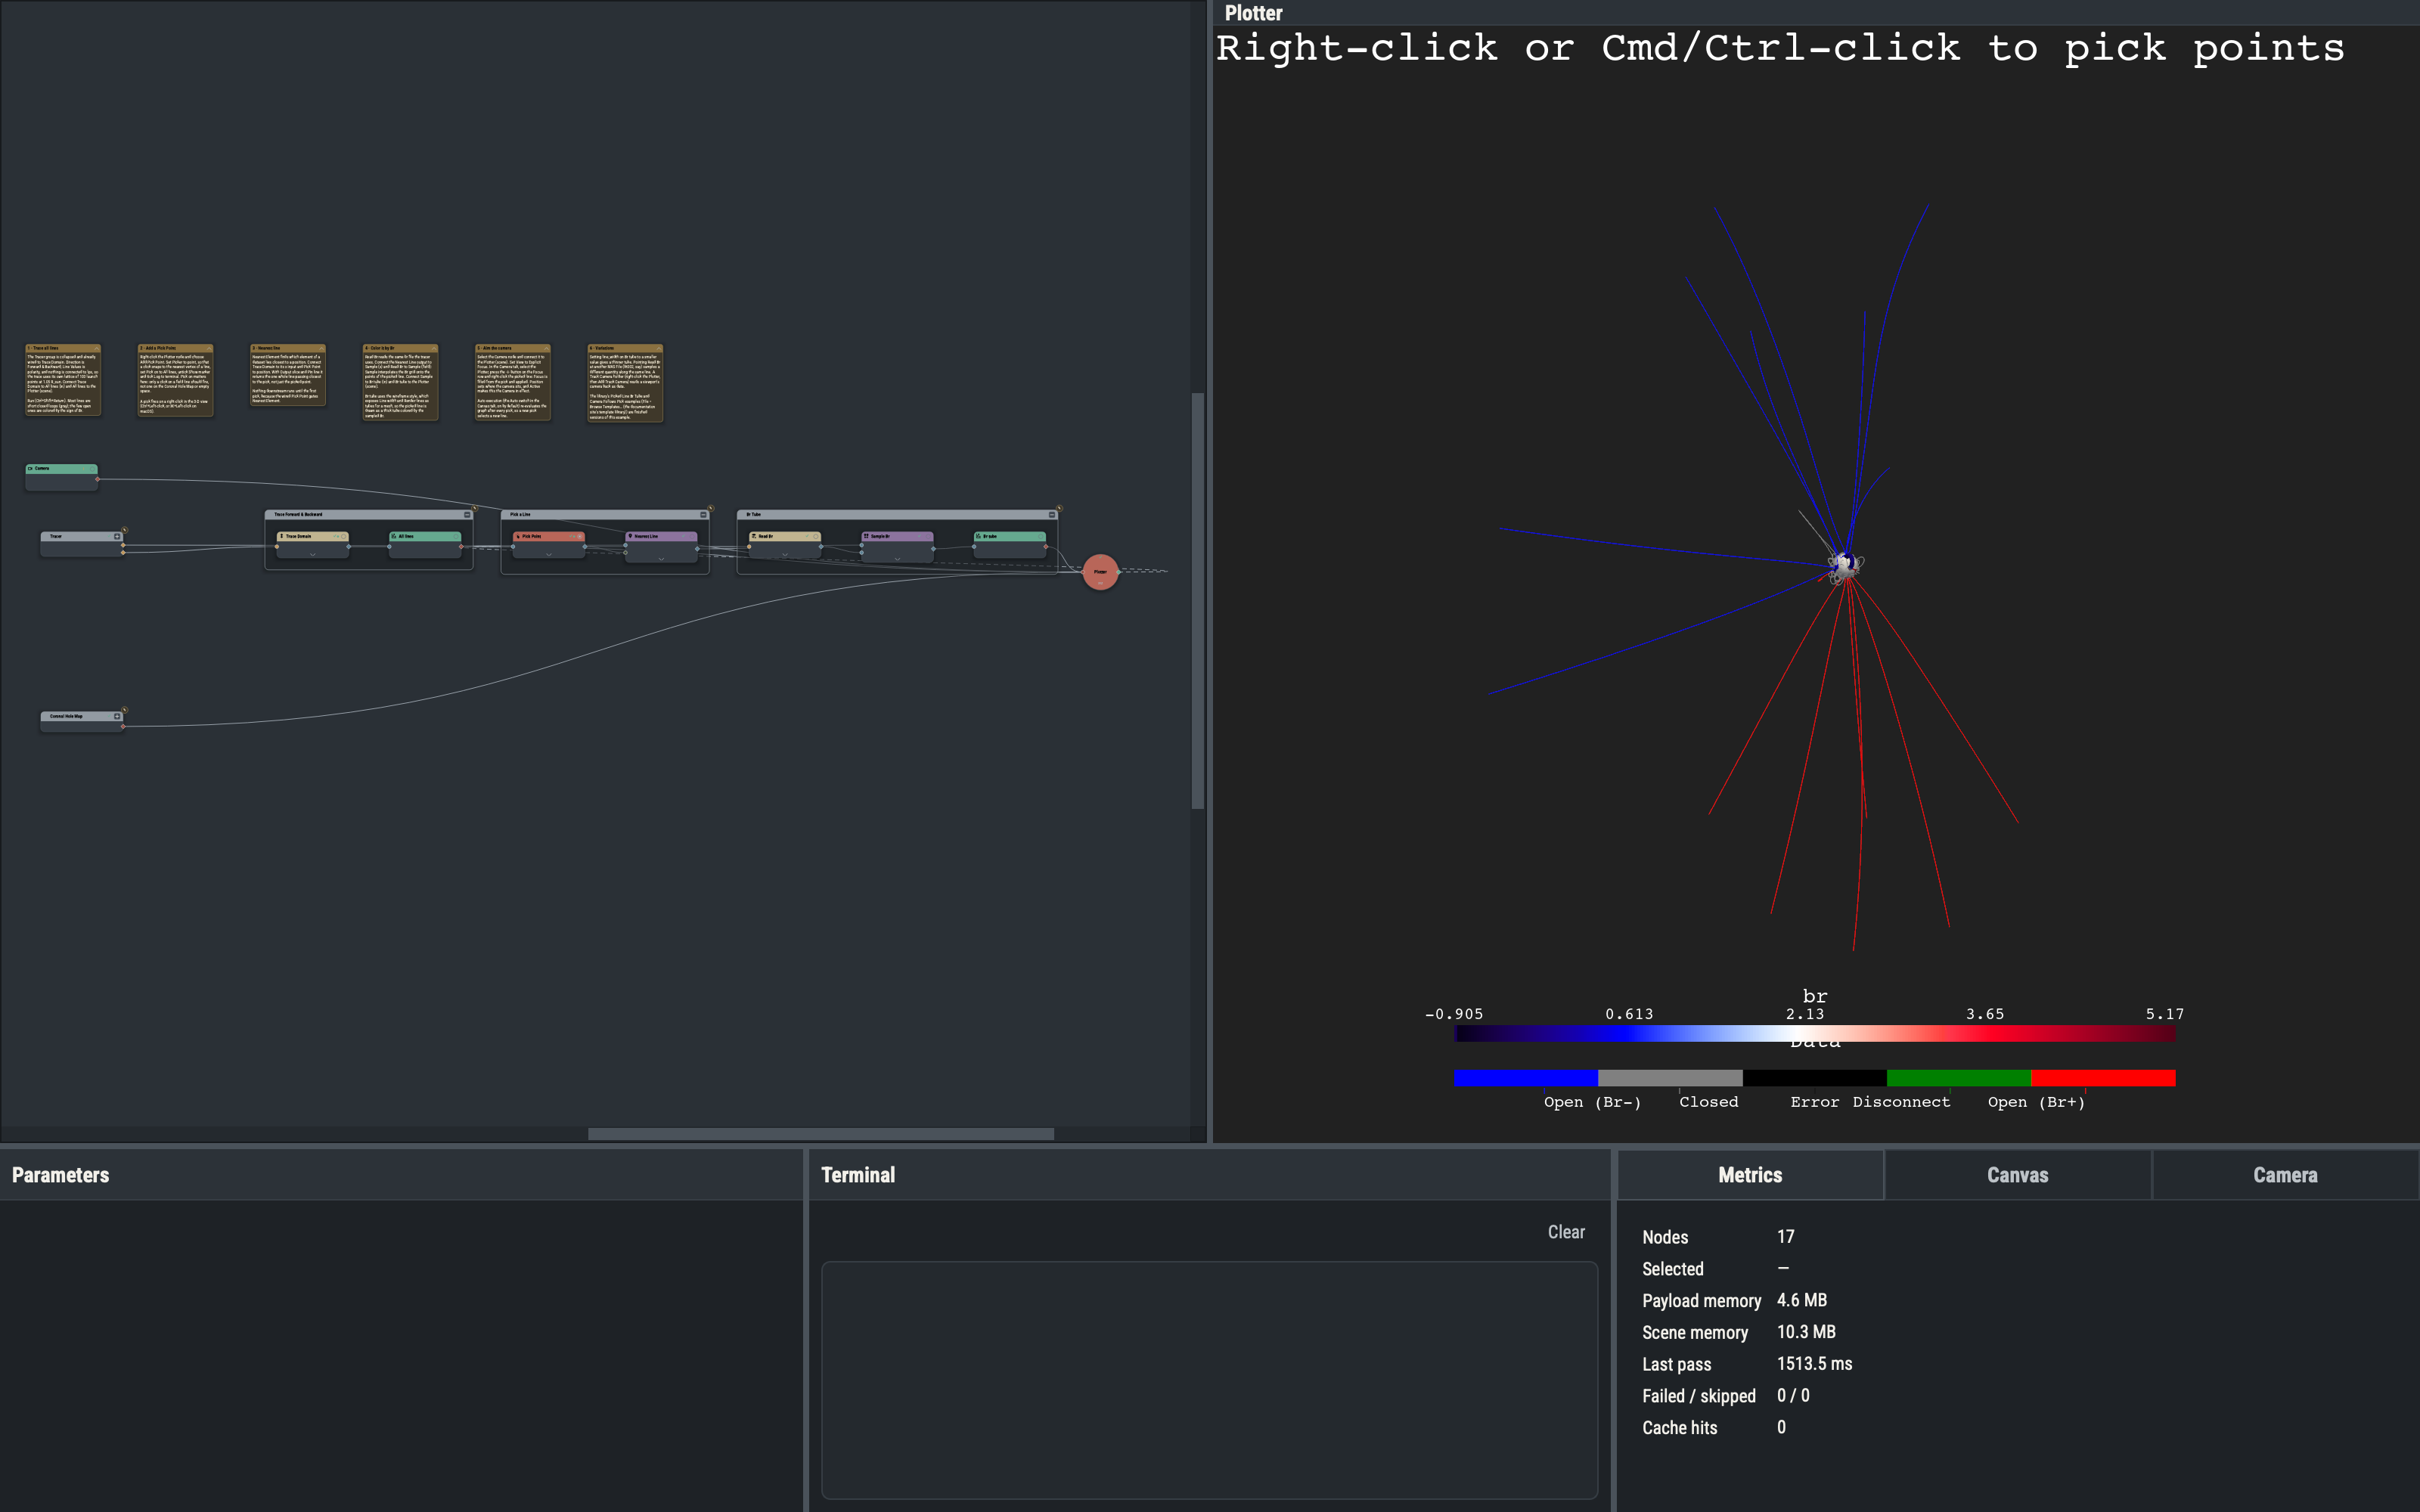
A Pick Point holder hands over one point, the vertex of a field line nearest the click (Picker point). Nearest Element (Functions ▸ Structural) turns that point back into a whole element of another dataset: given the traced lines on x and the pick on position, with Output slice and Pin line, it returns the single line that passes closest to the position. Everything downstream of it then works on one line. The wired Pick Point gates the node, so nothing downstream is drawn until the first click.
Pick on matters in this scene. The holder is limited to the All lines Plot, so a right-click that lands on the Coronal Hole Map or on empty space does not fire.
Sampling a field onto a line
Sample (Functions ▸ Mesh Filters ▸ Scalars) takes a surface or line set on x and any dataset on field and interpolates the field’s values onto the points of the first. Here field is the br file read with Read, the same file the Tracer uses, so the picked line carries the Br value at each of its points. The Br tube Plot uses style: wireframe, which exposes line_width and render_lines_as_tubes for a mesh and draws the line as a tube; its colormap is psi_seismic, which is symmetric about zero.
The solved session ships one pick, the apex of a closed loop at about 1.66 R_sun, so that a headless render shows the result without a click.
The Camera node, in brief
The Camera node sets the view of the Plotter it is wired to (Nodes ▸ Plotter ▸ Camera). Its parameters:
- Position is where the camera sits, stored as (r, θ, φ) in R_sun and radians. The row shows it in a display frame (Cartesian Coordinates, Spherical Coordinates or Longitude-Latitude) and display units (angles in degrees by default); the frame is display-only and does not change the node.
- View chooses how the camera is aimed: Field of View, Line of Sight or Explicit Focus. Explicit Focus looks at the point in Focus. Line of Sight derives the aim from a rectangle (LOS view, four angles x0, x1, y0, y1). Field of View uses FOV rmin (default 2 R_sun, the value used here): the view is framed so that a circle of that radius around the Sun fills it, however far the camera is; FOV rmin must be smaller than the camera’s distance from the Sun. Only the row for the chosen View is shown (Focus, LOS view or FOV rmin).
- P-angle (in degrees) rotates the image about the line of sight and applies in every View.
- Active marks the one Camera that is in effect. Only one Camera is active at a time, and its id is recorded in the session’s top-level
camera:key (herecamera: 12).
The Camera has no up parameter and no focus input: Focus is a parameter, not a port.
Optional ports and ⊕
Position is an optional input. On the Position card, ⊕ exposes a pos input dot on the node (the same control as for lps in example 2.2). The port takes an array or any dataset and uses its first finite point. While pos is wired it shadows the typed Position, and its caption changes to linked once an edge is attached. The exposed port is saved with the node (exposed: [pos]).
Driving another viewport
The Plotter a Camera is wired into (its scene input) is the viewport it controls. With two Plotters, a Pick Point on the first can feed the Camera’s pos port while the Camera is wired to the second: a pick in one viewport then moves the view in the other. The viewports are tabs of the viewport host, and each Plotter keeps its own Camera state.
The Camera tab
The Camera tab edits the live camera of one Plotter, chosen in its Plotter selector. Its cards, from the top:
- Views: a list of saved camera views (a global list shared by all sessions) with Save, Apply, Rename, Delete, → Node and Reset. → Node applies the selected view, then adds a Camera node seeded from the live camera, wired into the selected Plotter and made the active Camera. Reset fits the camera to the visible scene. In a 3-D viewport, the bare keys 1 to 9 recall the first nine saved views.
- Position, P-angle, View (Field of View, Line of Sight, Explicit Focus), then the one of Focus, LOS view or FOV rmin that matches View.
- View angle, which tracks the camera’s view angle and is editable in every View (it is a pane field, not a Camera node parameter), Solar north (a switch labeled Up (terrain style)) and Scroll wheel (Scroll zooms view angle: with the switch on, the mouse wheel changes the view angle with the position fixed instead of moving the camera).
The tab applies every committed edit at once; there are no Get, Set or Follow buttons, and the fields always follow the camera. The tab remembers View, Solar north and the wheel switch separately for each Plotter.
Picking into Focus with ⌖
Because Focus has no port, a pick reaches it another way. In the Camera tab, select the Plotter in the Plotter selector, set View to Explicit Focus and press the ⌖ button on the Focus row (the Focus row is shown only in Explicit Focus). The next right-click in the selected Plotter’s viewport fills Focus from that pick and applies it. This sets the Plotter’s live view only; the active Camera node replaces that view again the next time it is evaluated, for example after the next pick.
- The ⌖ is one-shot: it fills the row once and disarms. Pressing it again arms another pick.
- The latest ⌖ armed wins; arming Position’s ⌖ cancels Focus’s.
- The pick uses the Picker and Tolerance from Settings ▸ Defaults ▸ Picking (defaults
pointand 0.025). - The same ⌖ appears on the Camera node’s Position and Focus rows in the Parameters pane (and on other pickable position parameters). A ⌖ in the Parameters pane arms the main Plotter’s viewport, while the Camera tab’s ⌖ arms the Plotter selected in its Plotter selector.
Track Camera
Track Camera is the other kind of holder: instead of a pick it holds the camera firings of a viewport, so a view set with the mouse becomes data for other nodes. The Plotter’s right-click menu entry Add Track Camera (or Nodes ▸ Plotter ▸ Events ▸ Track Camera) adds one.
Variations
- A smaller
line_widthon Br tube gives a thinner tube. - Pointing Read Br at another MAS File (bt002, say) samples a different quantity along the same line.
- A second Pick Point with Chord key 1 can drive the Camera while the first is kept for the line; the second fires on a right-click made while Ctrl+1 (⌘+1 on macOS) is held.
- Changing P-angle rotates the picture about the line of sight.
The library (File ▸ Browse Templates…) holds further pick examples, among them Picked Line Br Tube, Click Cloud Trace, Click to Volume, Spline Builder, Two Plotters (Trace), Two Plotters (Camera) and Camera Follows Pick.
Example 3.1 leaves the Sun’s surroundings for a spacecraft’s trajectory.