 PVA
Guide / Chapter 1
1AU View
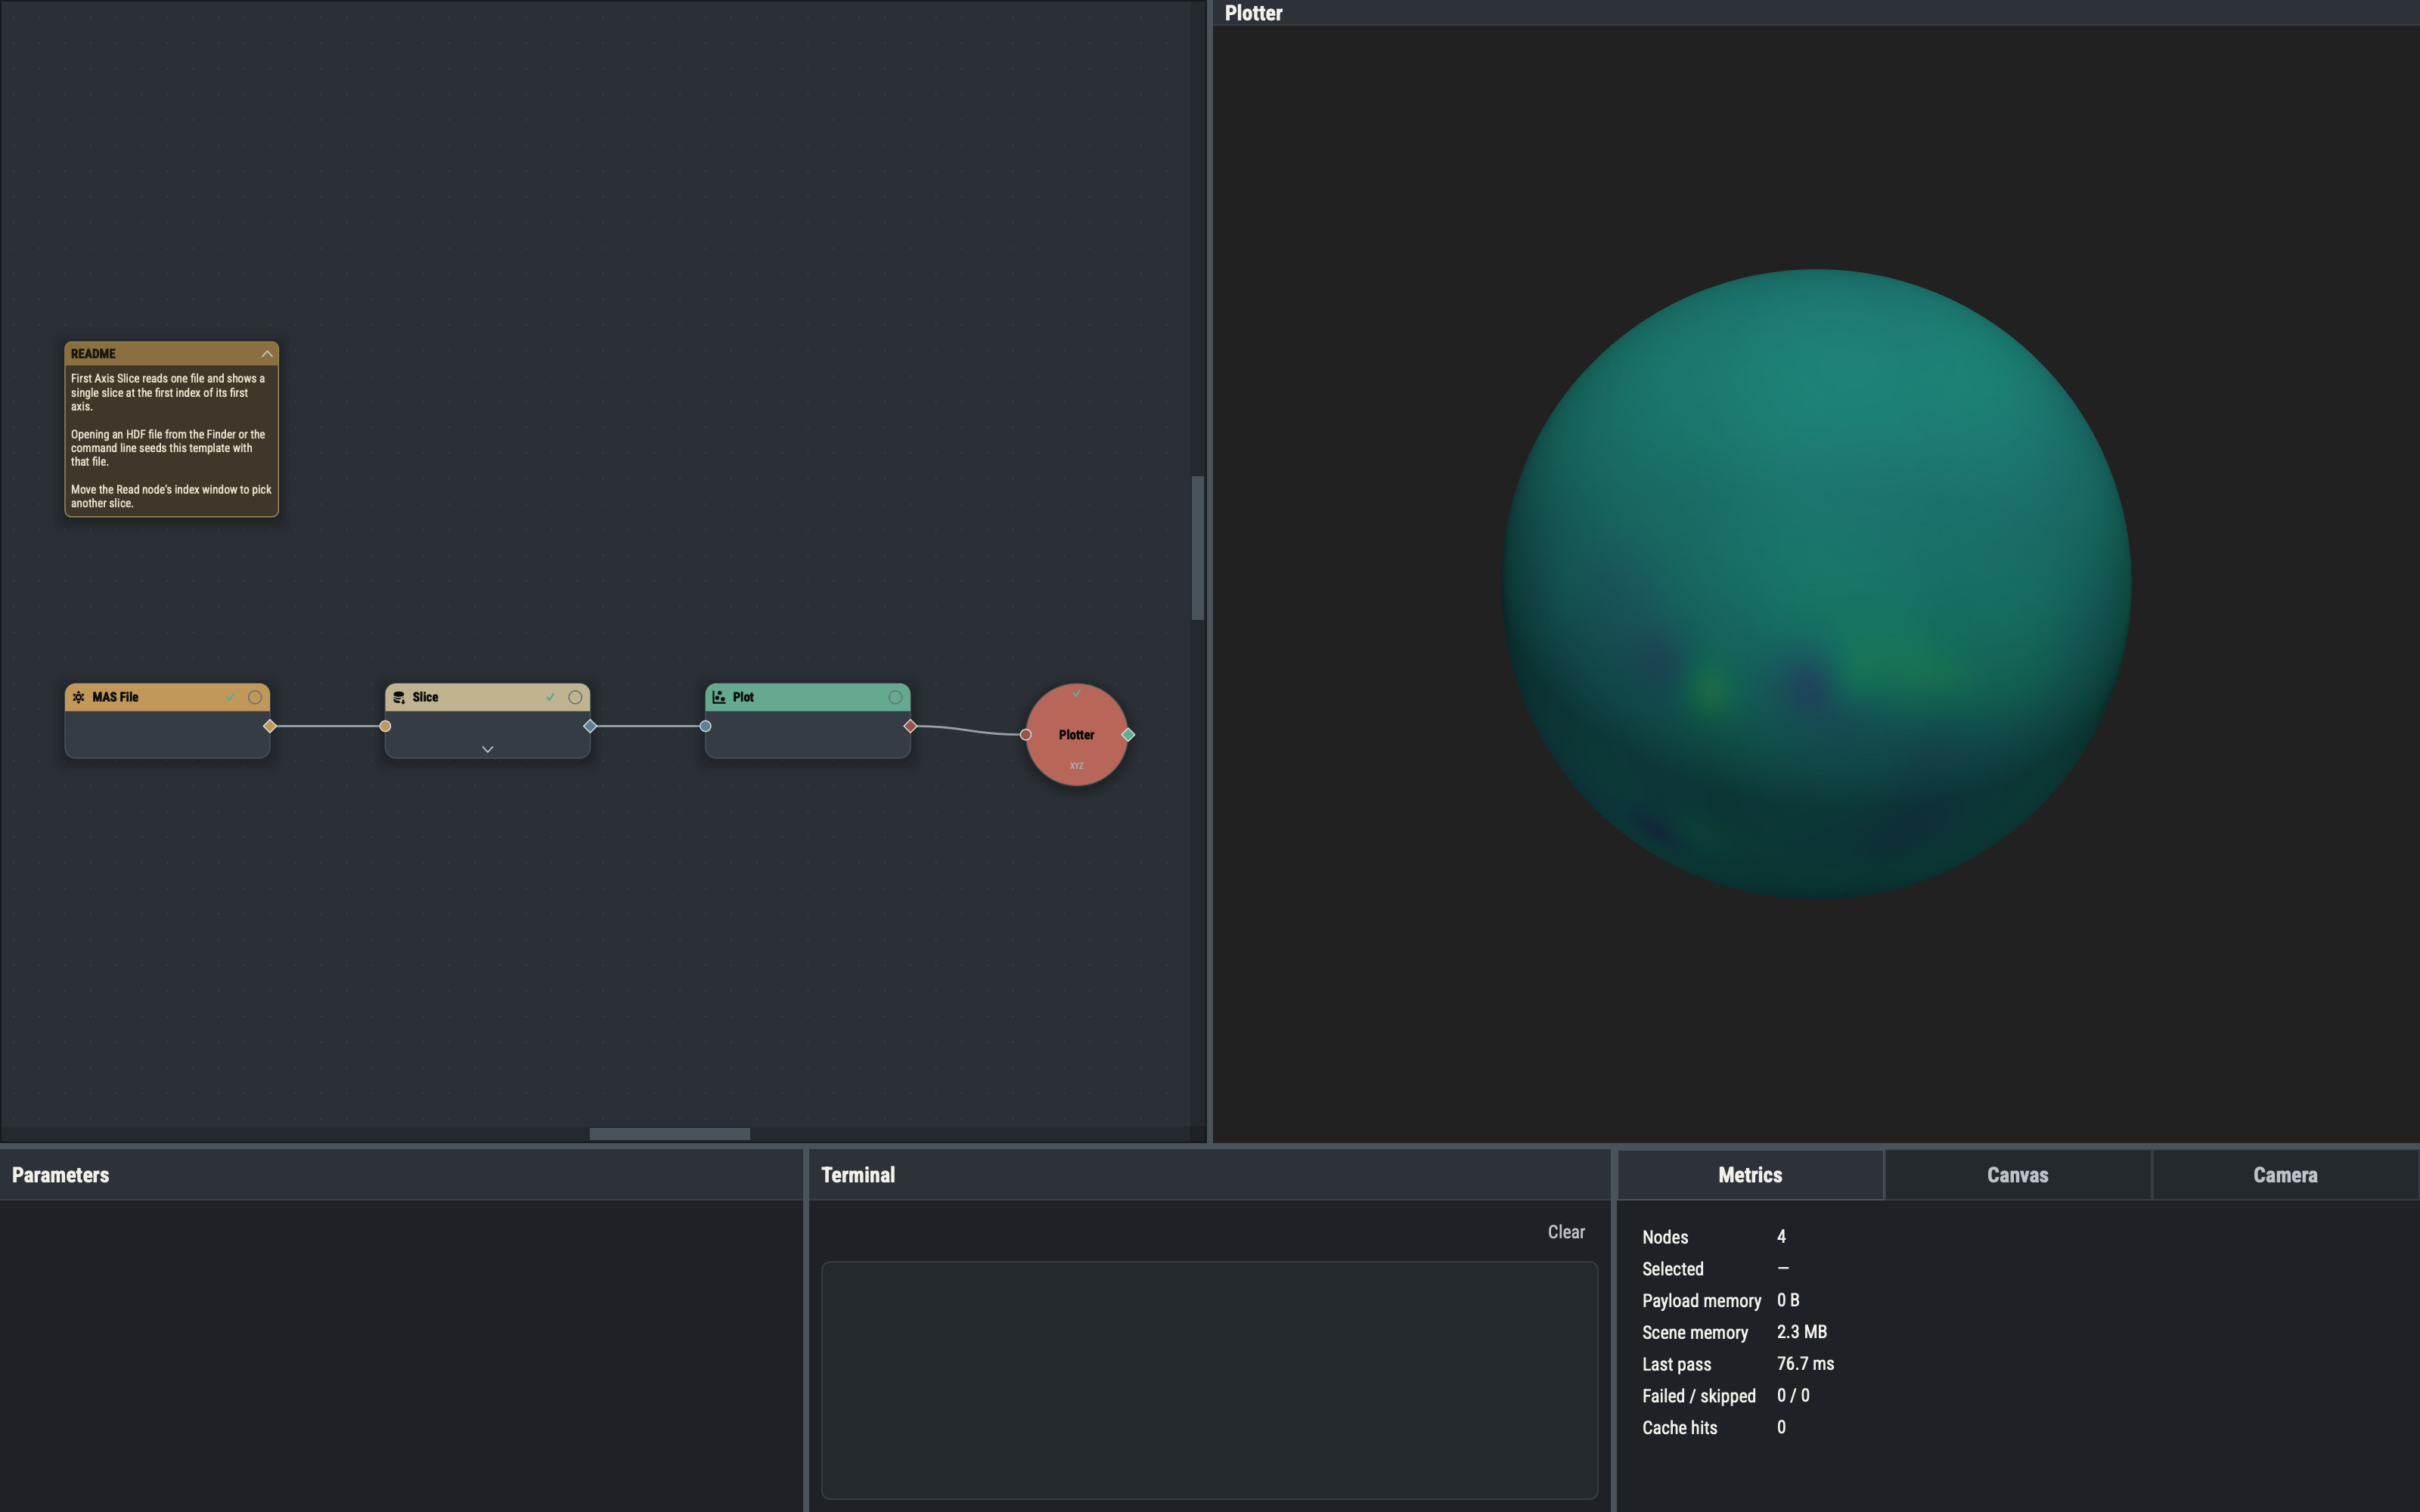
PVA is one window: a menu bar, the canvas and 3-D viewport above, and five panes below that you can dock, float and rearrange. The split reflects the workflow. You build a graph on the canvas, see its result in the viewport, and use the panes to edit parameters, read messages and steer the camera.
The upper half
The canvas (left) is a pan-and-zoom surface where nodes are cards and edges are curves between ports; see The Canvas and Nodes. The viewport (right) is the 3-D view the graph renders into. The first Plotter in a session is the main Plotter and owns this viewport; every further Plotter gets its own viewport tab beside it (The Plotter and Viewports). The window title reads PVA — <file name>, or untitled for a session with no file (Sessions).
The lower panes
| Pane | What it holds |
|---|---|
| Parameters | The form for the selected node or group (Parameter Pane). |
| Terminal | The application log (Terminal Pane). |
| Metrics | Live memory and evaluation figures (Metrics Pane). |
| Canvas | Position, port sides, zoom, Run and Auto, and the Actions menu (Canvas Pane). |
| Camera | The selected Plotter’s camera (Camera Pane). |
Any pane can sit beside another, be stacked into a tab group or float as an ordinary window. Panes can never be lost: closing a floating pane returns it to the bottom area instead of hiding it, so a floating pane never blocks quitting. The View menu has one entry per pane that shows it, raises it and activates it if it floats, which is the quickest way to find a pane hidden behind the main window. View ▸ Reset pane layout un-floats every pane and restores the default arrangement, leaving viewports alone.
On quit PVA writes the window geometry and the pane arrangement to layout.yaml in the user settings folder, and restores it at the next launch. A missing or unreadable file is ignored and the default arrangement is used; deleting it is a supported way to start over. Other per-user state sits beside it: Settings, recent files, favorites, saved camera views and opacity functions (Files and Folders).
Menus
The menu bar has eight menus. File manages sessions and templates, opens the template store, exports images and movies, downloads sample assets, opens the PVA home folder, opens Settings and shows About, a small window with the logo, the name and the version of the running PVA. Edit holds undo and redo. Nodes lists every node type by family and Groups creates, saves and drops groups; Favorites is your shortlist of both. View raises panes, drives canvas zoom and fit, and steps the UI font size. Macros toggles and edits Macros, and Help opens this documentation or the issue tracker (Report an Issue…). On macOS, Settings and About move into the application menu. Right-clicking the canvas, a node, a group, a note, an edge or an output dot opens a context menu built from the same commands. Chords are listed only in Shortcuts.
Mouse and keyboard basics
Double-click a node, group or note title to rename it in place (Return commits, Escape cancels). The mouse wheel never edits a value by accident: every spin box, combo box and slider ignores a plain wheel, which scrolls the surrounding pane instead; hold Ctrl (Command on macOS) to step a field once per notch. Starting PVA with a path, double-clicking a file or choosing Open With opens it in the window: a .pyv as a session and an .hdf or .h5 data file in a new session built from a stock template (Opening files at launch). Closing the window does not ask about unsaved session changes, so save before you quit. To render without the window, see Headless Rendering.