 PVA
Guide / Chapter 2
The Canvas
The canvas is where you build a session. It draws every node, group and note on a pan-and-zoom surface, and it is the only place where the graph’s structure changes: nodes are cards, edges are curves between their ports, and every structural edit is one undoable step. Parameter values are edited in the Parameter Pane; what a card shows and how the graph evaluates is covered in Nodes.
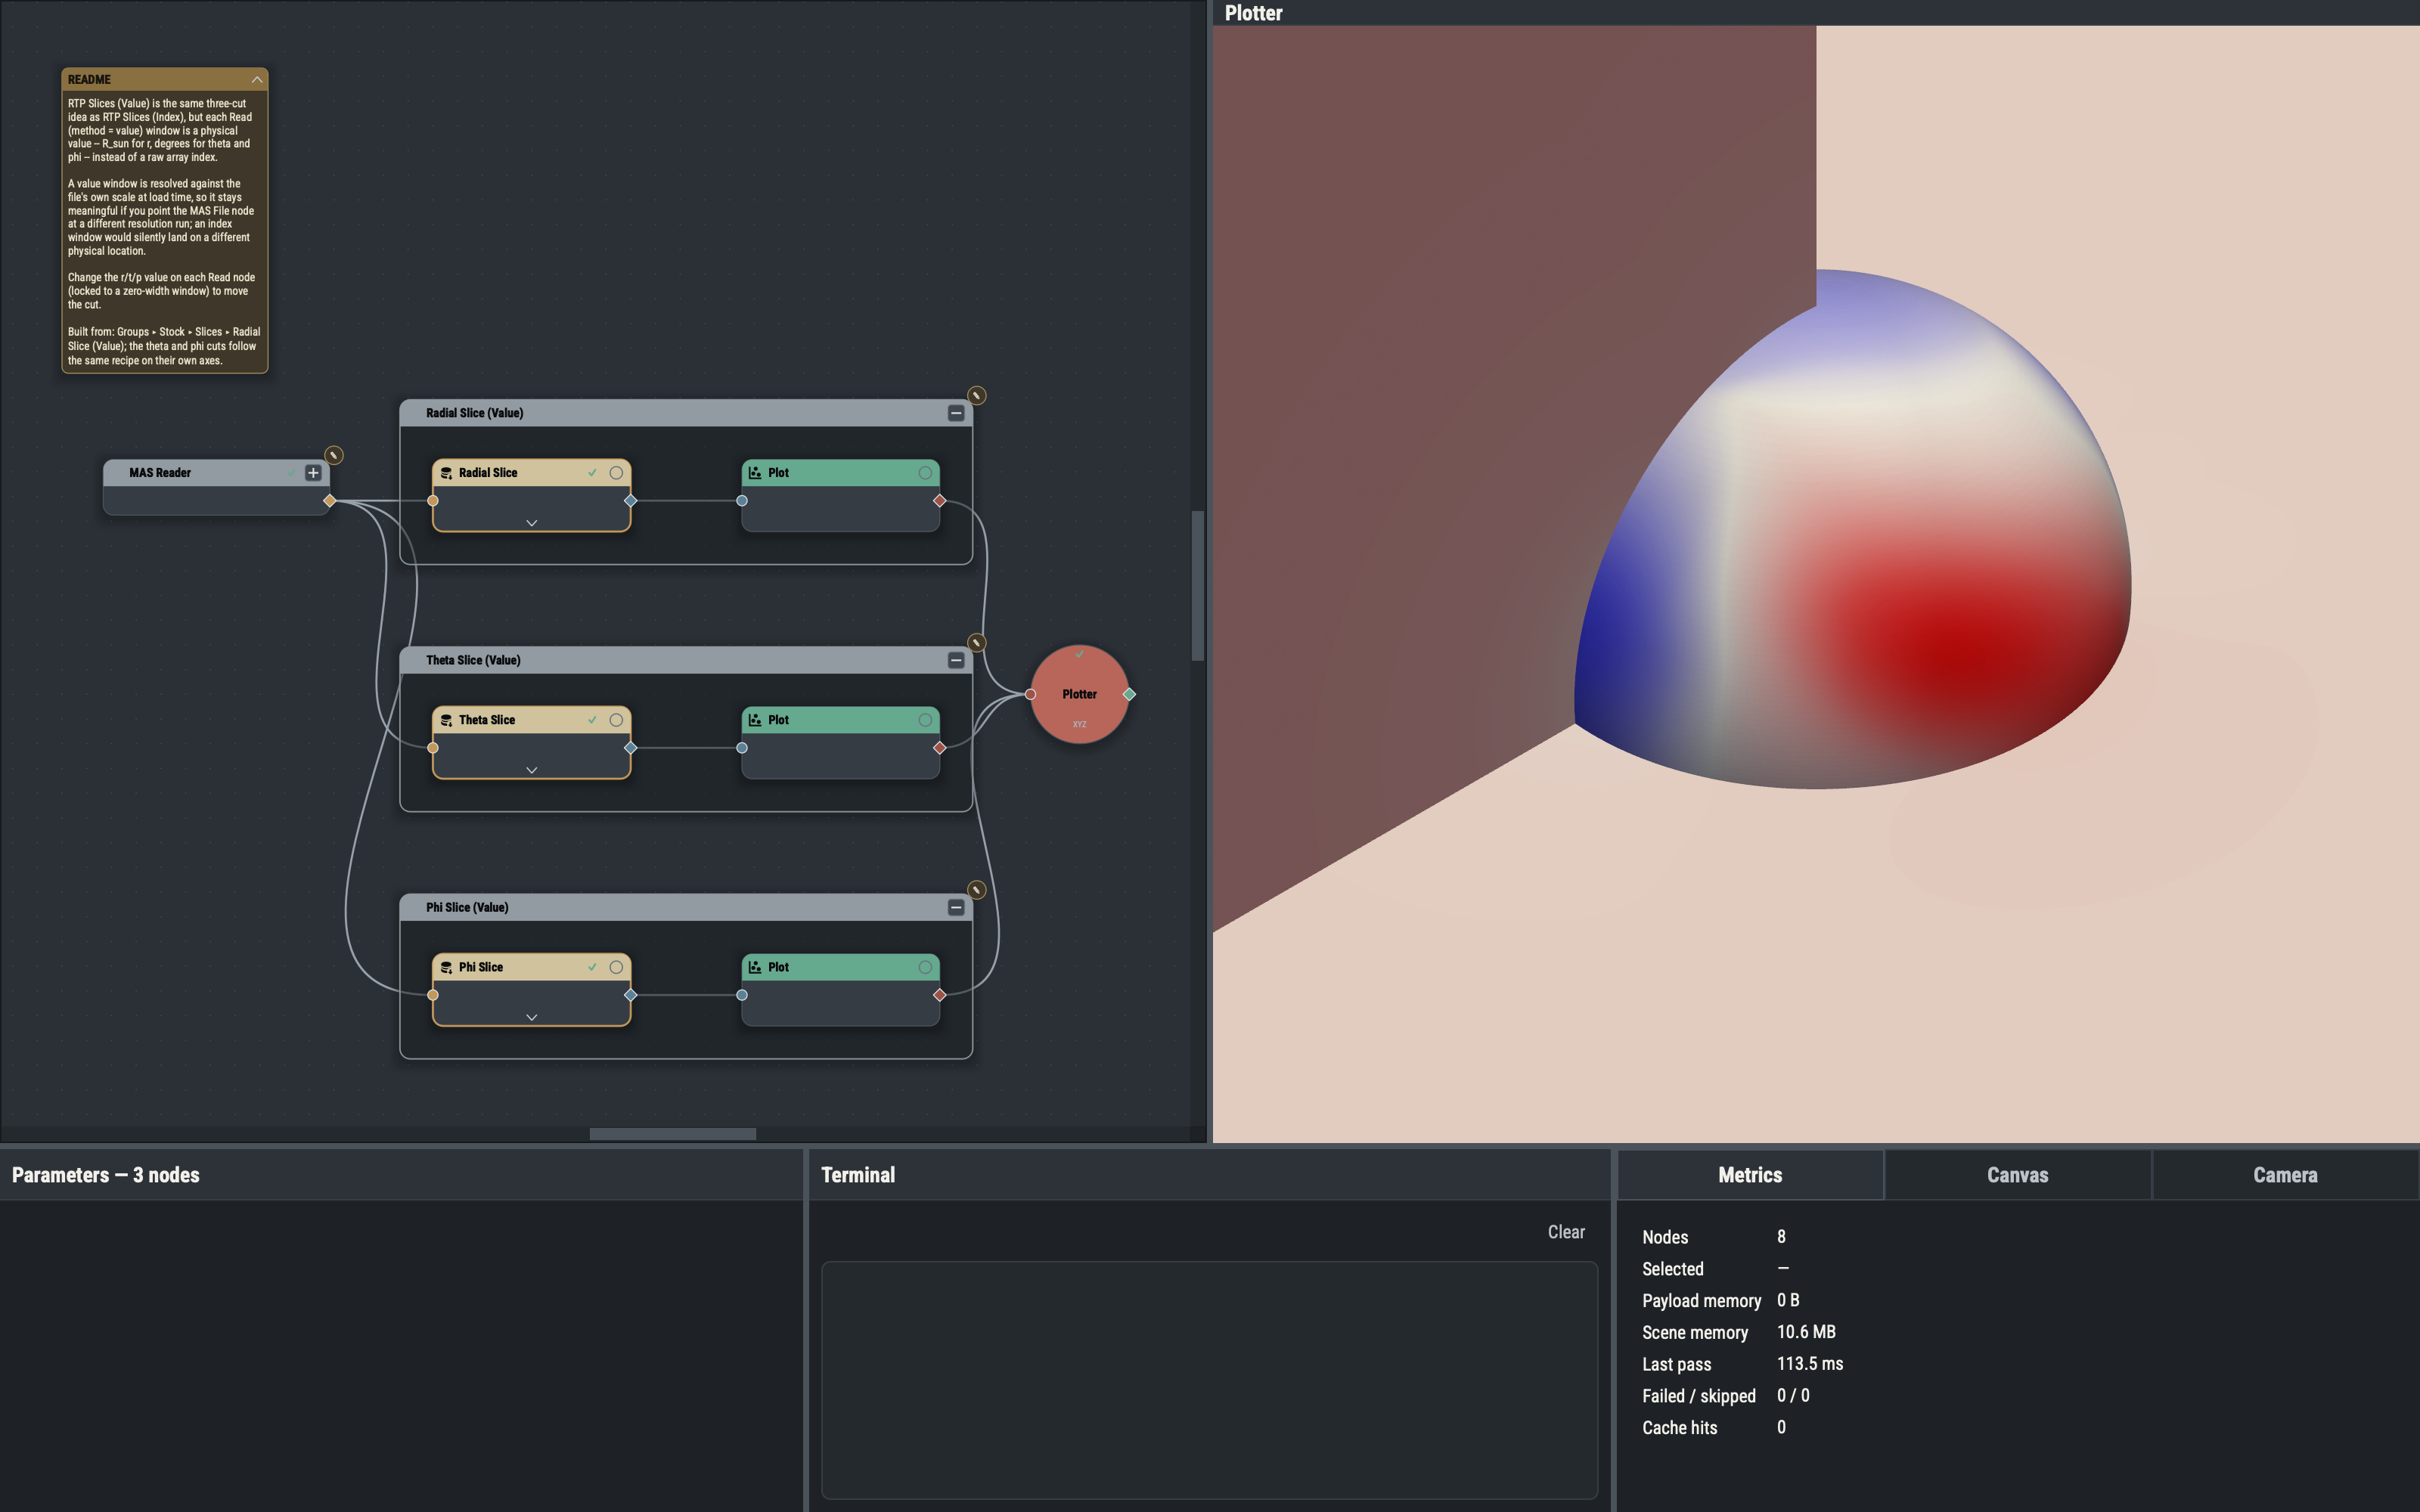
Panning and zooming
A two-finger trackpad scroll pans, a pinch zooms, and a mouse wheel zooms about the cursor. Hold Ctrl with a trackpad scroll to zoom instead of pan; a middle-button drag also pans. A device counts as a trackpad when its scroll events carry a gesture phase or pixel deltas, and the Canvas style page can invert the two-finger behavior. Zoom is clamped to 10 % through 800 %.
View ▸ Zoom In and Zoom Out step the zoom about the view center. Fit Canvas to Graph frames every item and Fit Canvas to Selection frames the selection (capped at 200 % so one small node is not blown up); Reset Canvas View returns to 100 % centered on the graph. The chords are in Shortcuts.
Selecting, moving and deleting
Click an item to select it, Ctrl-click to add or remove it, and drag on empty canvas for a rubber band that selects only items fully inside. Selecting a node shows its parameters; several selected items show only a count. Right-clicking inside a multi-item selection keeps it, so a command such as Group applies to all of it.
Dragging any selected item moves the whole selection, and dragging a group moves its members. A drag, or a burst of arrow-key nudges, is one undo step. For an exact position, type into the Canvas Pane’s X and Y fields.
Snapping to the grid. The Canvas pane’s Grid card (Canvas Pane) holds Show grid and two snap switches that are grayed out while the grid is hidden: Snap nodes snaps a dragged node or collapsed group by its top-left corner, places a node added under the cursor on the grid and makes the nudge chords step one grid cell (five with Shift); Snap links snaps angled-link segment shifts and break points to grid lines (see Adjusting an angled link). Both act only while the grid is shown, and all three switches are remembered across launches. Moves typed into the X and Y fields, undo, Optimize Layout and opening a session never snap, so an older layout stays where it was until you drag it.
Delete removes the selected nodes and notes at once with no confirmation; undo recovers them. Only the selected nodes go: their edges are dropped and dependents become out of date, but neighbors stay. The main Plotter cannot be deleted; make another Plotter the main one first.
Adding nodes
Every node type is in the Nodes menu, grouped by family. A node added from a menu lands on a cascade of offsets from the origin; a node added with its chord lands under the pointer, and a node chosen from the canvas context menu lands at the click. The new node is selected.
The Quick Add palette (CtrlK) reaches every node type and every group template from one filter line. Matching is a case-insensitive subsequence search with a bonus for word starts and camel-case humps (gv finds GridVector), and a query also matches the menu path, so conditional lists the whole Conditionals family. Results are sectioned Favorites, Nodes and Groups; Return adds the highlighted row.
Right-clicking empty canvas offers the Nodes tree, the group templates, your favorites, Add Note and Optimize Layout. Right-clicking an output dot adds a node already connected to it (see Add and connect in one step).
Favorites
Favorites are a per-user shortlist of node types and group templates, shared by every session and kept across restarts. The Favorites menu lists them (node types first, then groups), and they head the canvas context menu and the Quick Add palette. A favorite is a type or a template file, never a node on the canvas.
Add or remove one from a node’s right-click menu, from the Actions dropdown with one node selected, from a row in the palette (right-click, or CtrlD while a row is highlighted), or from the star beside a group in Settings. Adding a group that is on the canvas is different: a canvas group does not remember its template, so the command saves the selection as a new group template and favorites that. Renaming a saved group in Settings carries its favorite along; deleting it removes the favorite.
A favorite can outlive its target, such as a group file deleted on disk. Menus and the palette skip stale entries without rewriting the list, so a file that returns reappears where it was; Clear Favorites empties the list, stale entries included. The list is favorites.yaml in the user settings folder (see Files and Folders).
Connecting nodes
Ports are small dots on a card edge: inputs are circles, outputs and component ports are diamonds, and the fill color shows the payload kind (Nodes has the legend). Drag from an output (or a component dot of an expanded card, or a Plotter’s events dot) to an input. Every input that can accept the payload is highlighted; the ghost edge is green over an input that allows the connection and red over one that refuses it, and releasing anywhere else cancels. A refusal is logged to the Terminal with the reason. The rules are:
- Kind matching. An input accepts the kinds it declares and anything the application can convert on the way in. A one-element array is accepted where a number is expected, and vice versa; a grid, stack, surface or mesh dataset is accepted where an array or number is expected, standing for its value array. Volume, time, generator and render payloads convert to nothing.
- Currency restrictions. A generator handle feeds only a node that composes engines, or a materializer. A render payload (a Plot or Camera result) feeds only a Plotter.
- One connection per input. An input that already has an edge refuses a second. Two exceptions: a port declared to accept many connections (a Plotter’s
sceneinput), and a port that resolves the component selection itself, which keeps one edge per component. - No cycles. A connection that would close a loop is refused.
Connecting only marks the target and everything downstream out of date; it evaluates nothing unless Auto execution is on. A quiet optional port that is not drawn cannot be a target; show it first from the Parameters pane’s Optional ports.
Component connections
An expanded card with a dataset output has a diamond per component. Dragging from one connects only that component, and the receiving node applies it: a Binary Function records the component to read, an Extract-style node sets its component choice, and a Unary Function adds it to its target list. A port that cannot resolve a component itself receives the component already extracted as an array.
Add and connect in one step
Right-click an output or component dot (or press CtrlShiftK with one node selected) to open the acceptor menu: every node type that can consume that payload now. Choosing one adds the node to the right of its source, connects it (applying the component for a component dot) and selects it, as one undo step; if the connection is refused the node is removed again. The menu shows up to ten common types first and puts the rest under More. A Plotter’s events dot opens its holder menu instead (see Interactivity).
Disconnecting, edge styles and port sides
Right-click an edge and choose Disconnect; removing a parameter port in the Parameters pane removes its edge too. Input ports start on a card’s left edge and outputs on the right; either can move to any side per node, and the choice is saved in the session. To move a single port, click its dot (an input, or an output with a click and no drag): it gets a selection ring in the dot’s own shape, a circle for an input and a diamond for the output, and the Canvas pane’s Port card sets that port’s side, so one input can sit on the top edge while its siblings stay on the left. With a port selected and the canvas focused, AltLeft, AltRight, AltUp and AltDown put it on that side directly. The Ports dropdowns set every port of the selected nodes at once and clear such per-port choices. Edges can be drawn curved, angled or straight (a view preference, not stored in the session).
Cutting connections
To disconnect several edges at once, hold Alt (Option on macOS) and right-drag a line across them. A knife icon rides the middle of the line, and edges the line would cut are highlighted while you drag, and on release every visible connector it crosses is disconnected. Connectors hidden inside a collapsed group are never cut. Press Escape to cancel. No context menu opens while the modifier is held, and Undo restores all the cut connections together.
Adjusting an angled link
Under the Angled style, drag an interior segment of a link to shift it sideways, or up and down, so the link can route around nodes. Double-click a segment to add a break point and double-click a break point to remove it. Right-click a link and choose Reset path to return to the automatic route. The route is saved with the session, but it applies only while the Links style is Angled: Curved and Straight ignore it, and switching back restores it. Moving a node leaves the break points where they are and re-routes only the stretch next to the ports. Optimize Layout clears every route, and copies, pastes and templates take the automatic route.
Undo and redo
Every graph change is undoable: adding, deleting, connecting, moving, grouping, renaming, editing a parameter, toggling a cache override, adding notes, Optimize Layout, cutting connections and rerouting a link. Undo restores a snapshot of the whole graph taken before the change, so it reverts exactly what changed, including the contents of Snapshot nodes and Accumulators. Continuous gestures merge into one entry: a drag is one Move, a segment drag is one Reroute, a run of edits to one field is one entry, and an auto-repeating macro or pick is one entry. The history keeps a bounded number of steps per direction (Settings ▸ Defaults ▸ Editing, 100 by default). Pane layout, zoom, edge style and the canvas view are not part of it. While a text field has the focus, the Undo and Redo chords undo the field’s text instead.
Copying
A node is both a recipe and, once evaluated, a result, so there are two copies.
Copy (CtrlD) is shallow: a new node of the same type with the same parameters, exposed ports and cache policy, wired to the same upstream sources and offset slightly. Downstream consumers are not copied. Copying several nodes clones the selection as a subgraph: edges between selected nodes are remapped to the copies, edges from outside go to the same sources, whole groups are recreated over the copies, and hosted notes are cloned.
Deep Copy (CtrlShiftD) captures the computed result into a new, disconnected Snapshot node that holds its own data. It works for nodes whose output is a primitive or a dataset, and it refuses an out-of-date node (“evaluate the node first”), so it never runs stale or expensive work behind your back. A Snapshot’s data is saved with the session as a sidecar (see Sessions).
Optimize Layout
Optimize Layout arranges nodes left to right in layers: each node goes in a column by its longest path from a source, columns are ordered to reduce edge crossings, and positions are the only thing that changes. With nothing selected it arranges the whole canvas (each top-level group is one unit); with one whole group selected, that group’s members; otherwise the selection, with fully covered groups moving as rigid units. It is one undo step, and does nothing for two or fewer units.
Stacking order
When items overlap, the stacking order decides which is on top. It is view-only: never saved, and reset to creation order on open. Send to Back, Backward, Forward and Send to Front act on the selection. A group is one unit, its box sits just under its members, and edges are always drawn beneath every card.
Notes
Notes are text cards for annotation. They never evaluate and have no ports. A free note comes from Add Note on the canvas menu and drags like any item. A hosted note belongs to one node or group (at most one each), appears as a small icon at the host’s top-right corner, and opens as a fixed post-it that follows the host. Copying a node or group clones its hosted note; notes are saved in sessions and templates.
Actions menu
Right-clicking a node, a collapsed group card or a group’s title band opens the Actions menu, the same menu as the Canvas pane’s Actions dropdown. It holds the commands that act on the selection: Evaluate, Run Graph, Copy, Deep Copy, Delete, Group, Ungroup, Save Group…, Set as Main Plotter, Optimize Layout, the stacking commands, and a favorites toggle. A Plotter’s menu starts with its event holders. The last block replaces the selection with every node in a state:
- Select Stale: nodes that are dirty, pending or evaluating.
- Select Cached: nodes holding a cached result.
- Select Evaluating: nodes pending or evaluating in the current pass.
- Select Errors: nodes in the error state.
When nothing matches, the selection is cleared. With nothing selected, only Run Graph, Optimize Layout and the Select entries are enabled.
Acceptor menu
The acceptor menu is the menu behind an output dot described under Add and connect in one step. When nothing can consume the payload it shows one disabled entry.